Roof leaks can be both an inconvenience and a major source of worry for homeowners. Left unchecked, they can lead to costly damages, not just to your roof but to the structural integrity of your home. Water damage can result in ruined ceilings, mold growth, and deterioration of walls and insulation, creating a cascade of problems over time. Addressing roof leaks promptly is not just a matter of convenience; it’s a critical step in safeguarding your home and preventing expensive repairs down the line.
This guide will walk you through identifying roof leaks, equipping yourself with the right tools, making temporary repairs, and understanding when to call in the pros for long-term solutions. Lastly, you’ll learn how preventative maintenance can save your roof from future problems.
Identifying Roof Leaks
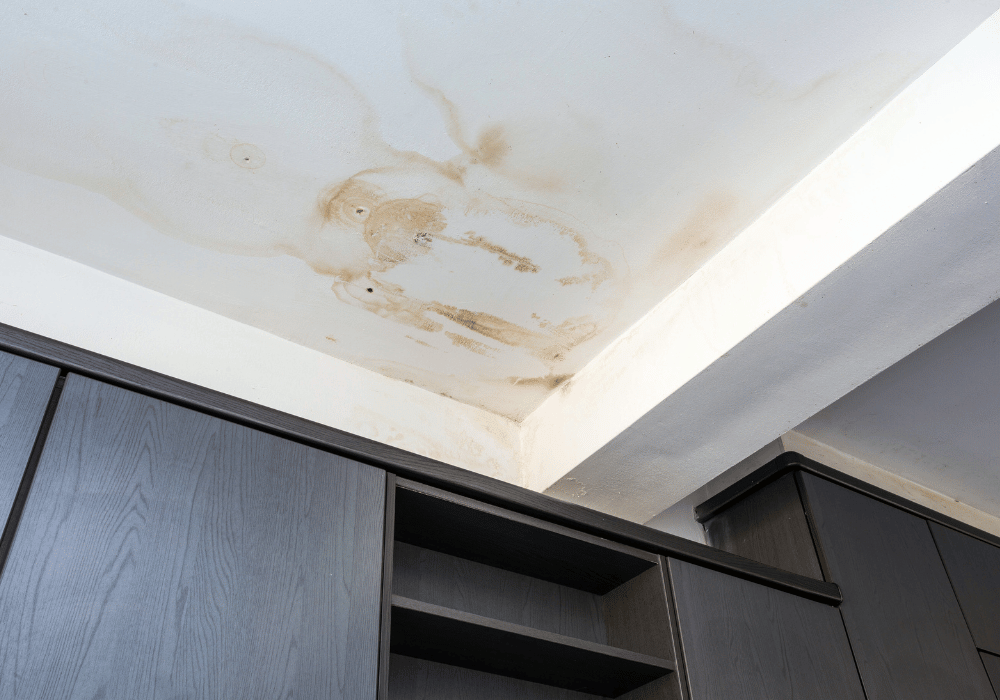
Recognizing the signs of a roof leak early is your first line of defence. While some leaks are obvious, such as water dripping from your ceiling during a storm, others are more subtle and can go unnoticed until significant damage occurs. One of the most common indicators is water stains on your ceilings or walls. These stains often appear as dark spots or discoloured rings and may grow larger after each rainfall.
Another telltale sign of a leak is mold or mildew growth. If you notice a persistent musty smell coupled with visible mould near your roofline, it’s likely due to moisture seeping in from a leak. Pay close attention to your attic, as it’s often the first area to exhibit signs of trouble. Look for wet insulation, water droplets, or warped wooden beams.
Damaged or missing shingles are another red flag. Check for cracked, curling, or absent shingles, especially after severe weather. Lastly, inspect your gutters and downspouts for granules from asphalt shingles, as their presence can indicate roofing material deterioration. Consistently monitoring these areas can help detect leaks before they escalate into larger problems.
Gathering Essential Tools
Once you’ve identified a potential leak, the next step is to gather the tools and materials necessary to make temporary repairs until a professional can assess the situation. Here’s what you’ll need:
- Roofing Sealant or Cement: Essential for patching up holes or sealing small cracks temporarily.
- Plastic Sheeting or Tarp: Used to cover and protect large damaged areas from further water infiltration.
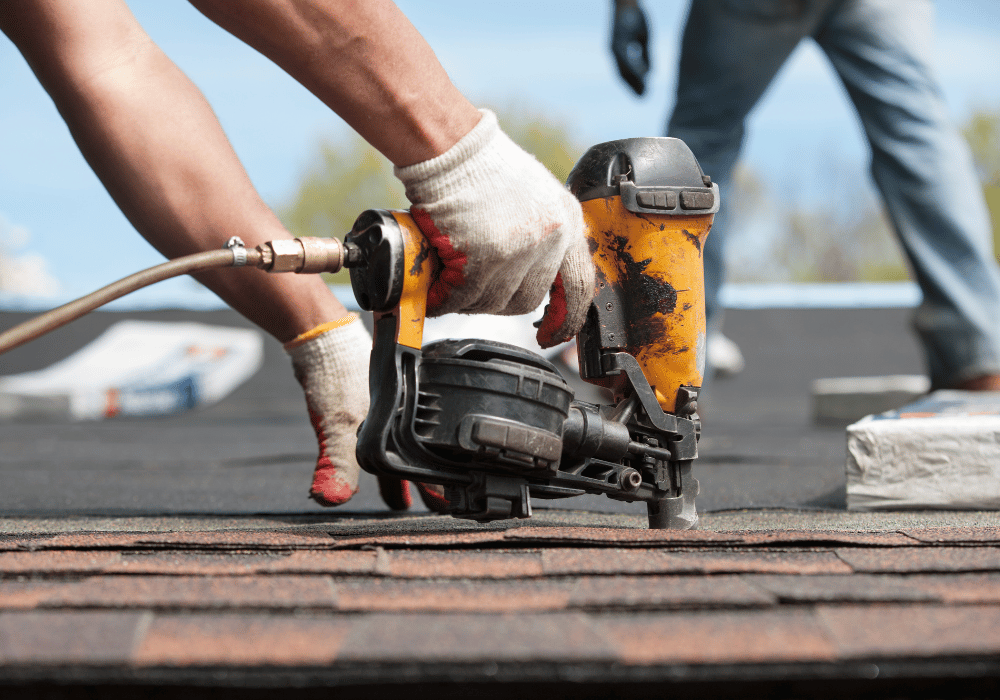
- Roofing Nails or Screws: Helps to secure plastic sheeting or tarp in place tightly.
- Ladder: Make sure it’s stable and extends at least three feet above your roofline to provide safe access.
- Gloves and Rubber-Soled Shoes: Essential for grip and safety while working on the roof.
- Flashlight: Handy for inspecting dark corners of your attic or rooflines.
- Putty Knife: Useful for applying roofing cement evenly over damaged areas.
Having these tools on hand allows you to act quickly and reduce the likelihood of further damage while you await permanent repairs.
Step-by-Step Repair Guide
When dealing with a roof leak, safety should always be your priority. If your roof is wet or slippery, wait for conditions to improve. Once it’s safe, here’s a step-by-step guide to make temporary repairs:
- Locate the Source of the Leak:
Start inside your home by following water stains upward to pinpoint where the leak may be coming from. Use a flashlight to thoroughly inspect your attic, paying attention to rafters, insulation, and the underside of the roof.
- Mark the Area:
Once you locate the origin of the leak, mark it with chalk or a similar marker. This will help guide you when you’re on the roof.
- Place Protective Covering:
For larger damaged areas, cover the site with a tarp or plastic sheeting. Secure it using roofing nails or screws. Stretch the material tightly over the damaged site to ensure water doesn’t pool on the covering.
- Seal Smaller Cracks and Holes:
For small holes or cracks, clean the area and apply roofing cement or sealant with a putty knife. Spread it evenly, ensuring edges are sealed to prevent further seepage.
- Check Flashing and Seals Around Protrusions:
Areas around chimneys, vents, and skylights are common culprits for leaks. Reinforce these areas with additional roofing cement or temporary flashing if damage is visible.
- Inspect the Repairs After a Rainfall:
Once you’ve completed your repairs, monitor your home for any signs of continued leakage during the next rainfall. If leaks persist, it’s time to call in the professionals.
While these steps can provide temporary relief, remember that DIY repairs are not long-term solutions. They’re meant to stabilize the situation while you seek expert help.
Seeking Professional Assistance
Temporary fixes can buy you time, but for a thorough and lasting solution, consulting a roofing professional is essential. Experts possess the tools, experience, and skills to conduct comprehensive inspections and uncover underlying issues you might miss.
Roofing professionals can assess the age of your roof, the severity of the damage, and whether an isolated repair or a full roof replacement is necessary. Attempting extensive repairs without professional expertise can result in incomplete fixes, escalating costs, or, worse, personal injury.
Additionally, roofing professionals often identify hidden vulnerabilities that might lead to future leaks, such as improper flashing, degraded underlayment, or incorrectly installed shingles. Hiring an expert ensures your roof is not just repaired but fortified against future damage.
Preventative Measures
Roof maintenance is critical to preventing future leaks and prolonging the lifespan of your roof. Here are some practical tips to keep your roof in top shape:
- Inspect Your Roof Seasonally:
Perform visual inspections in spring and fall. Look for missing shingles, cracked flashing, or any potential vulnerabilities.
- Clean Your Gutters:
Clogged gutters can cause water to pool and seep into your roof. Clear debris and ensure water flows freely after each season.
- Trim Overhanging Branches:
Tree limbs can scrape against your roof or drop heavy branches during storms, causing serious damage. Keep trees trimmed well away from your roofline.
- Check Roof Seals and Flashing:
Pay special attention to areas around vents, chimneys, and skylights, as these are common spots for leaks to develop.
- Schedule Professional Roof Inspections:
Have your roof inspected by a professional at least once a year or after severe weather events to ensure any issues are addressed promptly.
By adopting these preventative measures, you can avoid major repairs and ensure your roof remains reliable throughout its lifespan.
Roof leaks can feel overwhelming, but with the right knowledge, tools, and support, you can handle these challenges effectively. Regular maintenance and timely repairs can save you thousands of dollars and safeguard your home from extensive damage.
If you suspect a leak or are uncertain about the condition of your roof, don’t wait for the next big storm to find out. Consult a roofing professional for a thorough inspection and ensure your home remains a safe, dry haven.